


Installing Rim Night Latches
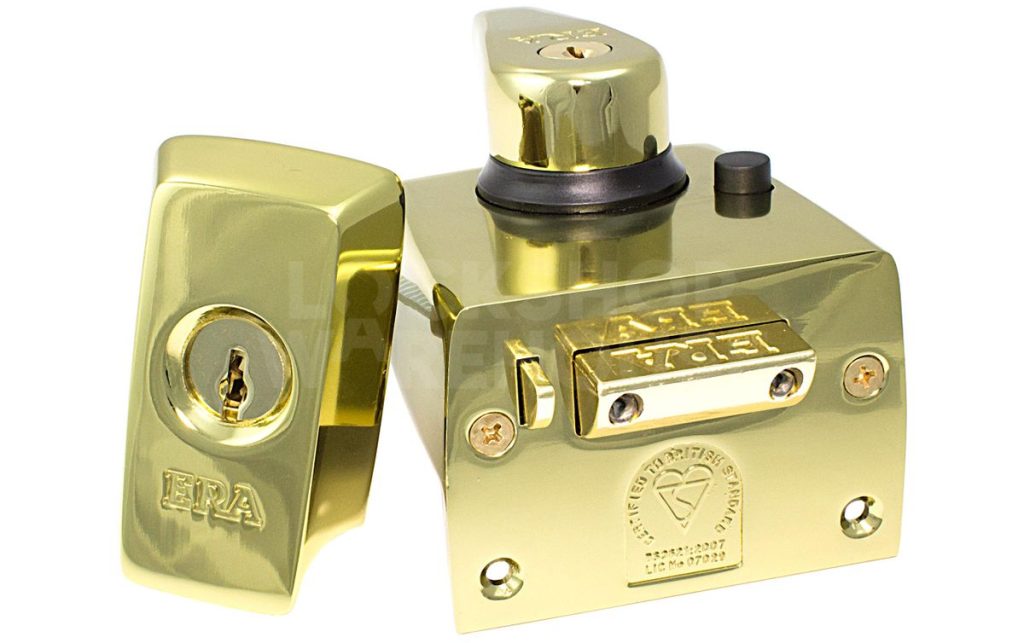
Rim Night Latches, often referred to as "Yale locks", need to be measured from the edge of the door to the centre of the key hole. The backset on these types of locks will be 60mm or 40mm. Its very important to match this distance otherwise you can not use the cylinder hole drilled through the door.
Installing From New
Step 1.
With ruler measure either 40mm or 60mm (depending on the size of lock you have purchased) Mark the position with a pencil. With a 32mm hole-saw drill the hole straight through the door at the positioned marked.
Step 2.
Bush down the dust off the hole drilled. Place the rosette over the rim cylinder and then insert through the hole. With the 2 long screws place the backing plate of the inside box over the tongue that is protruding on the inside and thread the 2 screws through the internal plate and into the screw holes on the back of the rim cylinder. Screw the internal plate directly into the door using 1 of the wood screws provided with the lock.
Step 3.
The tongue on the back of the rim cylinder may be to long to work with the lock box. Allowing 10-20mm mark the tongue and then cut it off at this position using either a large pair of cutters or a hacksaw. ( you will need to remove the screws from the back and remove the rim cylinder from the door to cut the tongue off with a hacksaw. If you do this repeat step 2)
Step 4.
With the rim cylinder fitted onto the door and the tongue cut at the correct length place the inside box onto the internal plate, locating the tongue into the back slot in the lock box. To assit you may want to have to key in the cylinder at the front and gentle turn the key to help locate the tongue.
Step 5.
Once located screw the 2 'grub' screws through the face of the box into the internal plate to secure to the door. Gently close the door and with a pencil mark the position of where the lock body meets the frame. This will give you the correct position for the strike plate.
Step 6.
Line the strike plate up against the frame with the top and the bottom of the strike lined up with the 2 pencil marks. Draw around the overlapping lip of the striking plate. Carefully chisel out the marked wood. Once done the lip of the plate should sit flush against the frame.
Step 7.
Fix the plate to the frame with the wood screws provided and close the door. The latch should automatically press in upon contact with the strike plate and lock securely. If there is to much give on the door the the strike plate will need to be cut in deeper into the frame to stop the door from rattling.
The lock should automatically latch once the door is closed if it doesn't then you may have fitted the striking plate on an angle. Make sure the plate is fitted upright and straight. Also try to spray some lubricant onto the latch to ease it. Key should turn smoothly from outside. If the door is tight this will put pressure on the latch and means the key will feel tight to turn, ease the strike plate off and this should cure the problem.